16' McKenzie River Drift Boat
This boat was designed as a fly
fishing boat for rivers. I started building this boat in August of 2000.
After nearly two years of sporadically working on it, I finally finished it in
June 2002.
I bought the plans and a rib kit from Tatman Wooden Boats in Springfield Oregon. Tatman sent me the ribs which were cut and assembled on a jig and then disassembled for shipping. The rest of the boat was built from scratch mostly using his plans as a guide; however, I did take some liberties with non-critical parts and wood types.
Here is a list of the woods that I
used in the construction:
Black Locust: Gunwales, chines and
battens
Black Walnut: Seats, floorboards,
knee braces, transom handle
Alaskan Cedar: Ribs
Cherry Burl:
Veneering of inboard transom, rear knee brace blocks in gunwales
Mahogany: Stem, Veneering on outboard
transom
Marine Grade Meranti Plywood (British
Standard 1088): Sides and bottom
Douglas Fir: Oars and Transom core
The black locust and walnut trees
were cut on my Dad's farm in West Virginia. We took them to a sawmill to have
them cut and left them in his barn for over a year to season.
The locust log was cut to so I could make the gunwales one-piece.
What I didn't use on the boat, I used on a new workbench
for the shop. I read some old books on boatbuilding and locust was
mentioned as a good boatbuilding wood. We
use locust for fence posts on the farm since they last a long time (40+ years)
under adverse conditions. I found the cherry burl in a pile of firewood and
asked the owner if I could have it. I sliced it up and used it to veneer the inside of the
transom. It turned out to
have very nice grain, so I am glad that I saved it from the firewood pile.
Nearly all of the wooden parts are
encapsulated in 2 coats of System 3 Epoxy with 3 coats of Epifanes Marine
varnish. The bottom of the boat is protected by a 1/4" thick UHMW skid
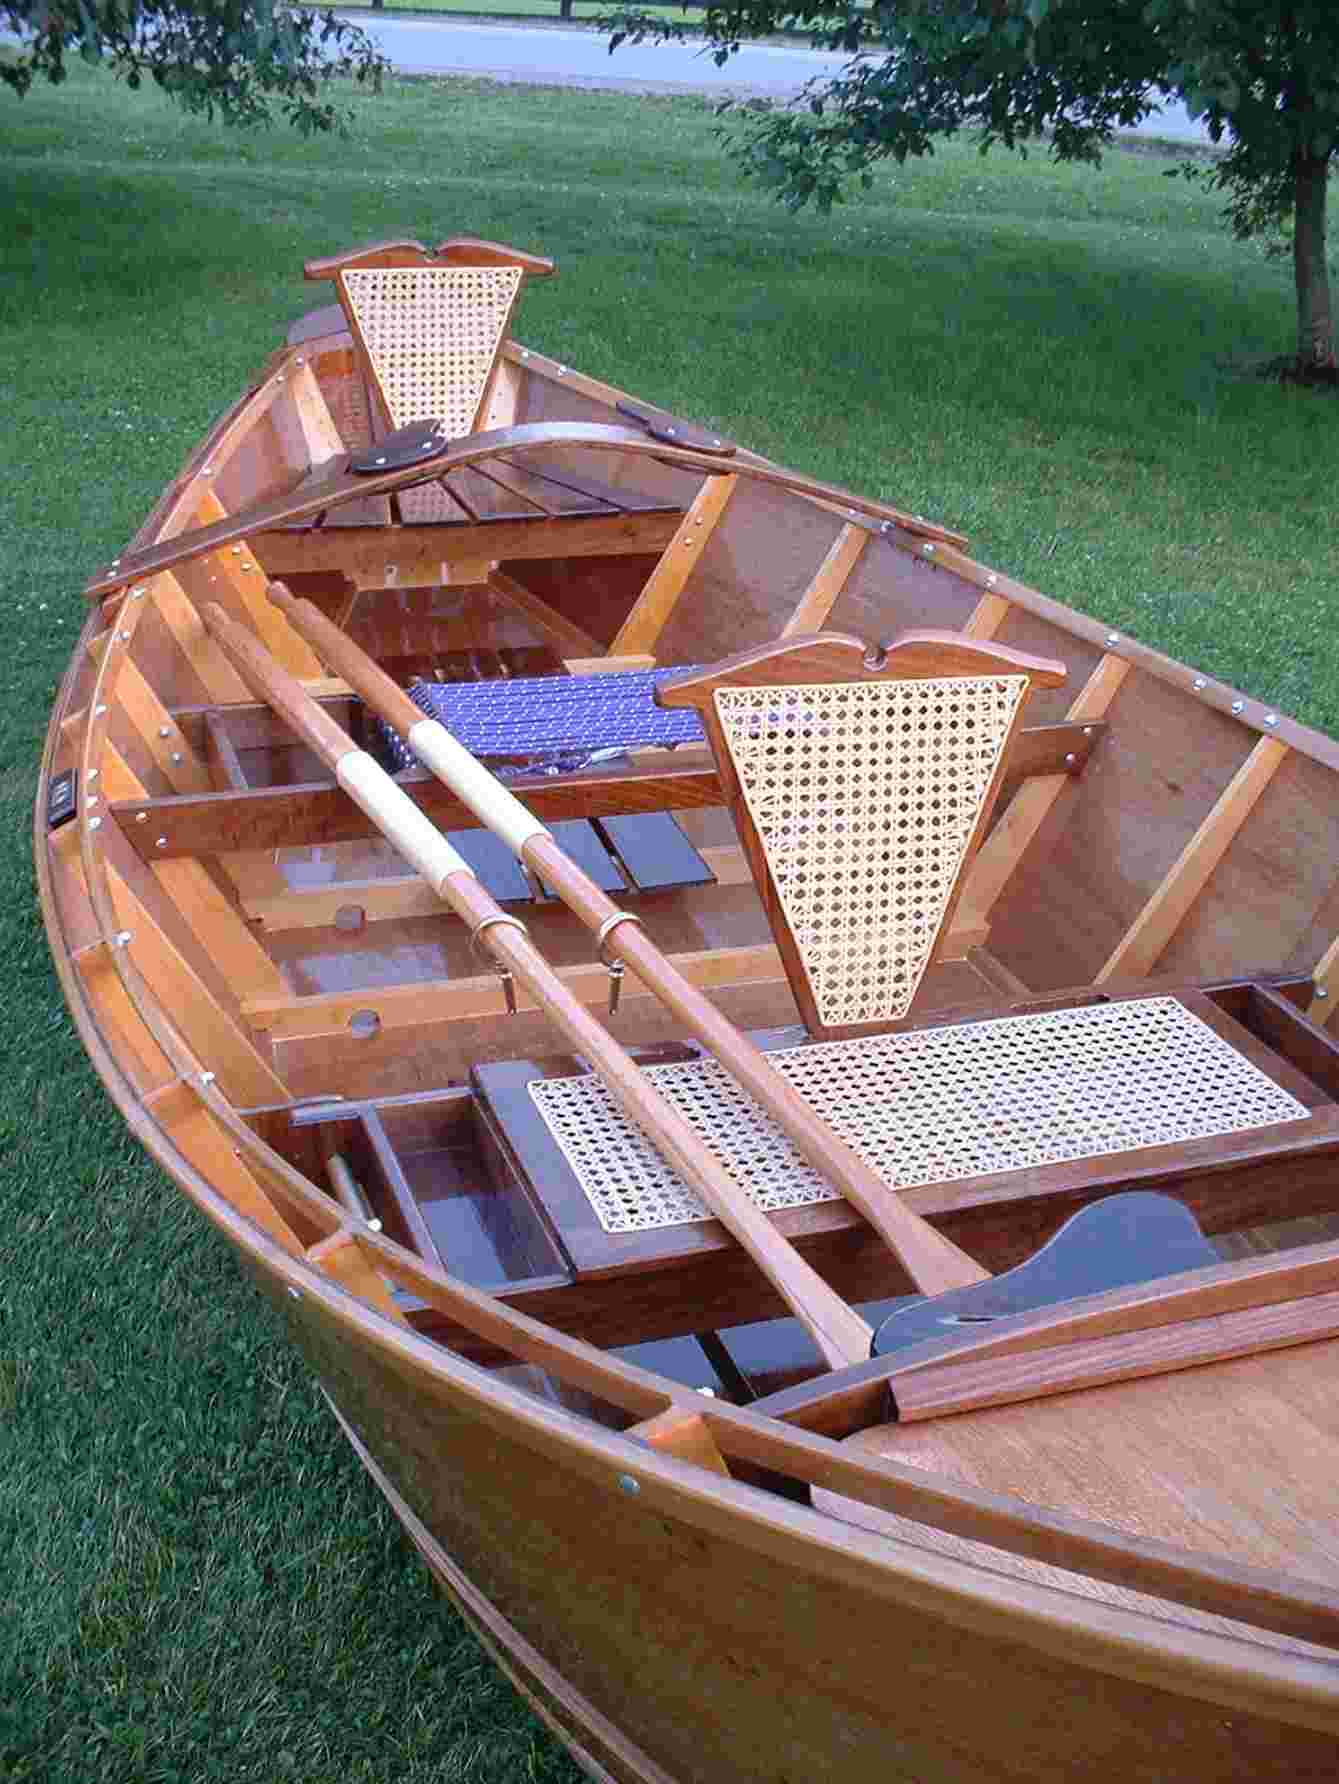
plate. I hand-caned the front seat
and seat backs in a hotel room in the evenings while I was on a 2 week buisiness
trip. I had rattan all over the
place, hanging from the shower curtain rod and on the bed.
I am surprised they didn’t throw me out of the place.
I had looked at numerous boats in Wooden Boat magazine and saw some caned
seats on an Adirondak Guide Boat that I liked, so my seat-backs are inspired by
the ones that I saw on that boat. I
also looked at many different drift boats on the internet and picked out what I
liked about certain designs and incorporated them into my boat as best that I
could. I carved out the oars with a
draw-knife, spoke shave, plane and gouge. I mounted each on my wood lathe and
moved the tail-stock to another table in the shop since my lathe bed is only
4ft. I set my lathe speed as slow
as it would go (300 RPM) but the wood flexed too much even with a steady rest
and fir does not turn well anyway. Mounting
it on centers; however, made it much easier to carve than just mounting it in a
vise. One other adventure was steam-bending
the rear leg brace. I had always
wanted to try steam-bending, so I set up a simple rig and it worked out quite
well. I also steam-bent some locust
pulley supports for the anchor system.
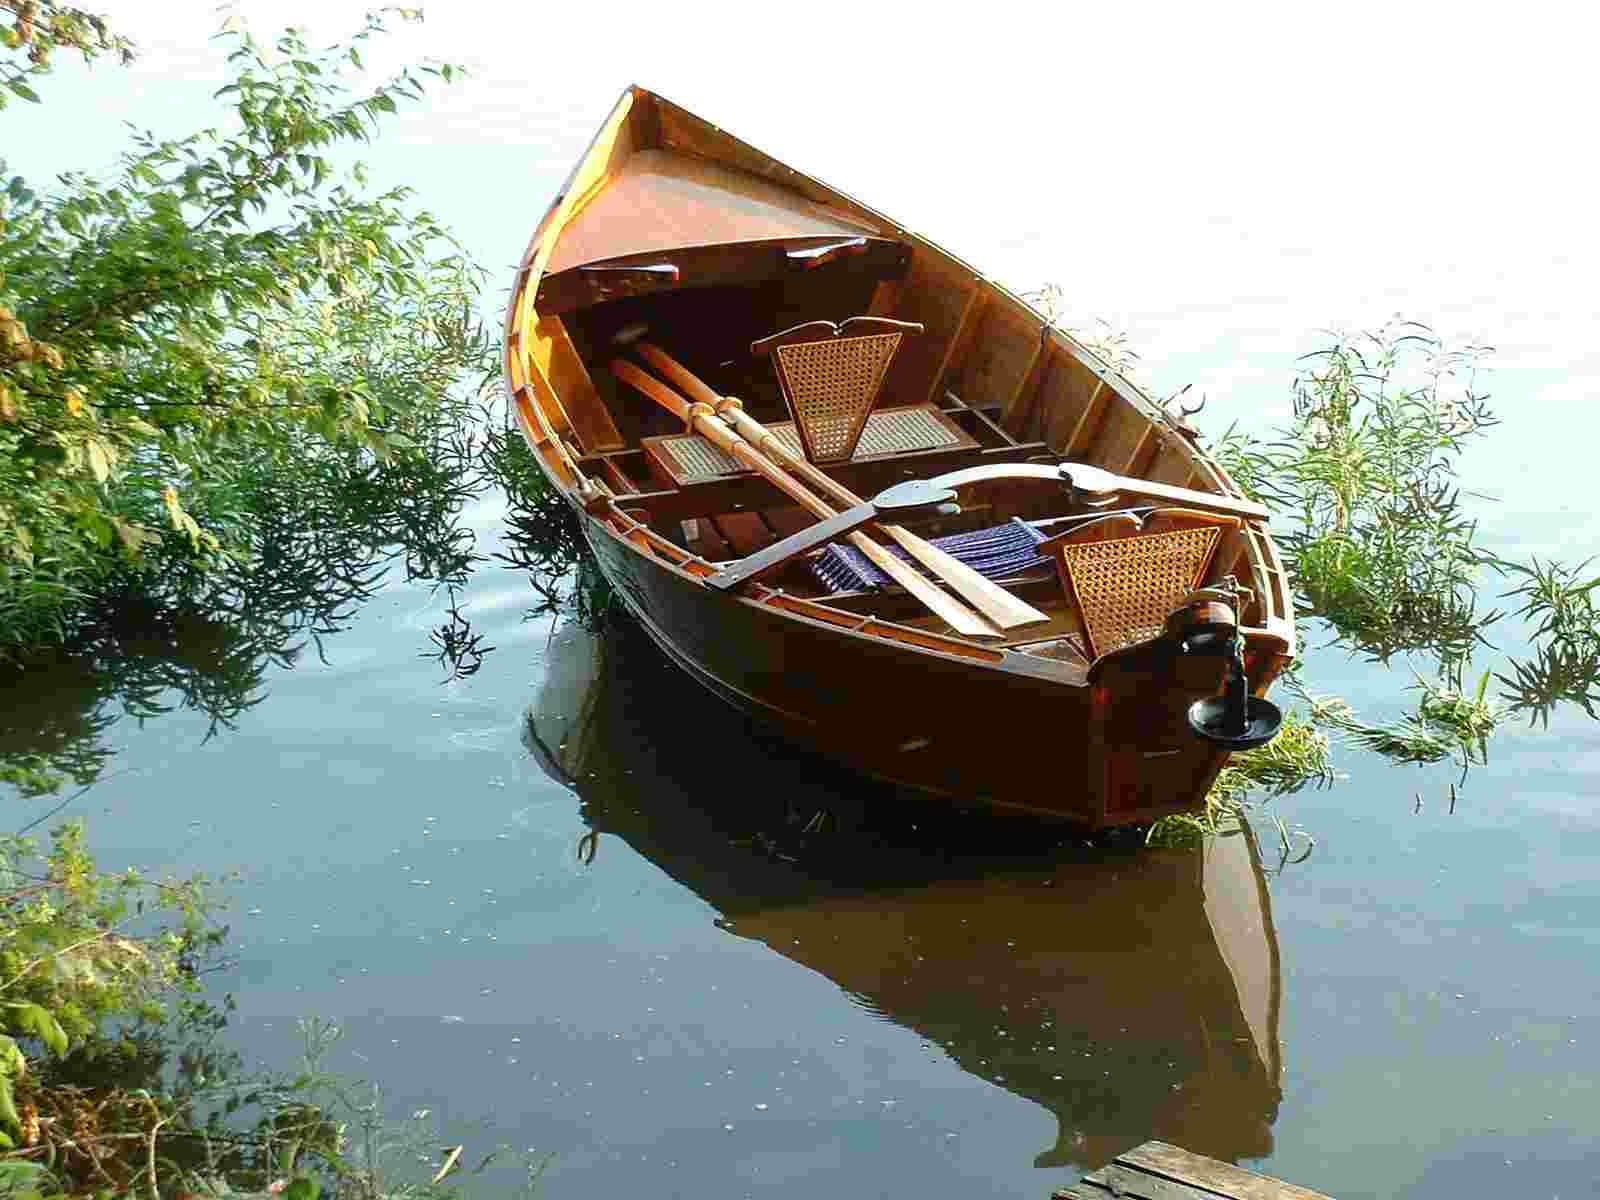
We launched the boat at a lake in the first week of June 2002 to try it out. My wife and kids and our Labrador Retriever, Colby went along for the maiden voyage. We caught a few fish, Colby went for a long swim and retrieved rubber ducks and the boat didn’t leak, so I suppose that qualifies as a successful launch and recovery. I had to adjust the oarlocks when I got home since I didn’t have them aligned correctly which made rowing more difficult than it should have been. After I fixed the oarlocks we took it down the river, which is what the boat was designed for in the first place. It is very responsive and I had a tendency to over-control it at first, but once I settled down things went along just fine. I need much more practice before shooting any whitewater though. Getting the boat registered was quite a chore as well. Because it was homemade, I had to have a watercraft officer come out to the house to inspect it. Then I had to wait for the Division of Watercraft to issue me a Hull ID # so I could get a title and then register the boat. If the boat was under 14', I would not have had to title it.
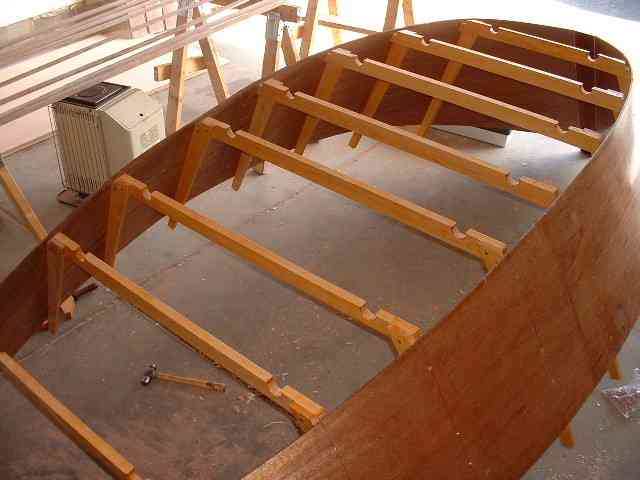
Building the Boat
The sides wrapped around the ribs, with gunwales, chines and battens on sawbucks in the background.
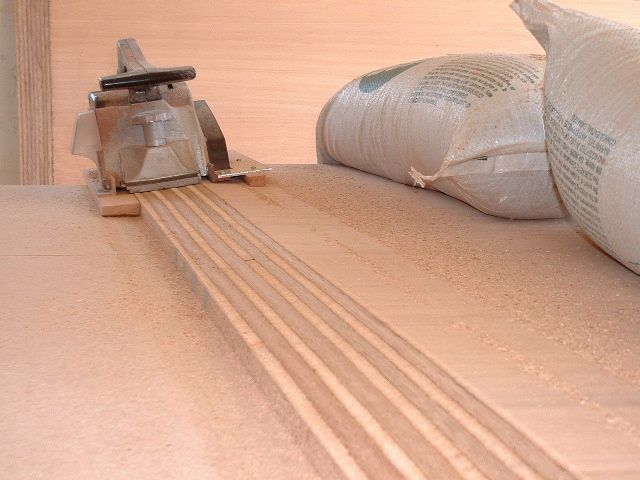
Below shows a power planer that was used to scarf the plywood. Since plywood usually comes in 4'x8' sheets and you need 4'x16' sheets you have to put two sheets together. The venerable scarf joint is the only way to go. It involves cutting shallow (12:1) bevels on two pieces of wood and gluing them together. Note the jig for the power planer. This jig holds the planer at the proper bevel angle. Such jigs are commercially available. Ads can be found in "Wooden Boat" magazine. The commercial variety only fits particular models of planers so I had to custom build one for my planer. The design works extremely well. After the bevels are cut, I mixed up some System 3 epoxy and wet out both bevels. After wetting out, I mixed some more epoxy, with wood-flour and colloidal silica. The mixture was applied to both bevels and the two sheets were matched. 120 lbs of tube sand was placed on each joint while the epoxy cured. Wax paper was placed on both the top and bottom surfaces of the plywood to keep it from sticking to the floor and sandbags. To me, scarfing was the "qualifying exam" for building the boat. If I got through this process, I was confident that I could build the rest of the boat. You could also buy the plywood pre-scarfed directly from Tatman as part of a complete boat kit. I must say that buying marine grade plywood was a major hassle. It had to be drop-shipped and I had to pick it up at a freight terminal. Freight costs were nearly as much as the plywood. I would seriously consider buying the whole kit from Tatman, if you want to save time, trouble and money.
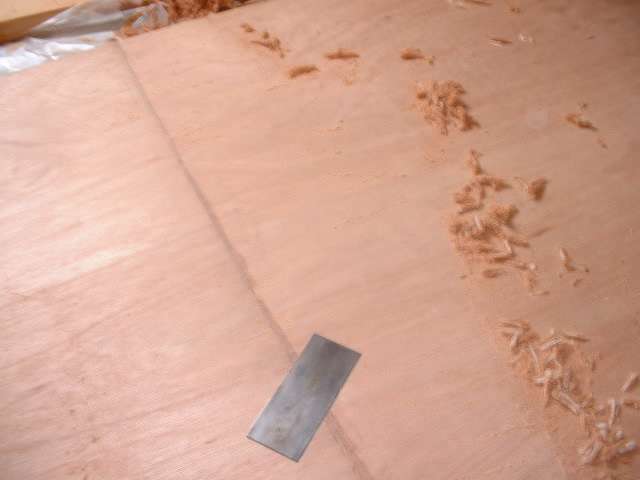
The scarf joints are very strong and showed no signs of failure as the plywood was bent around the ribs.
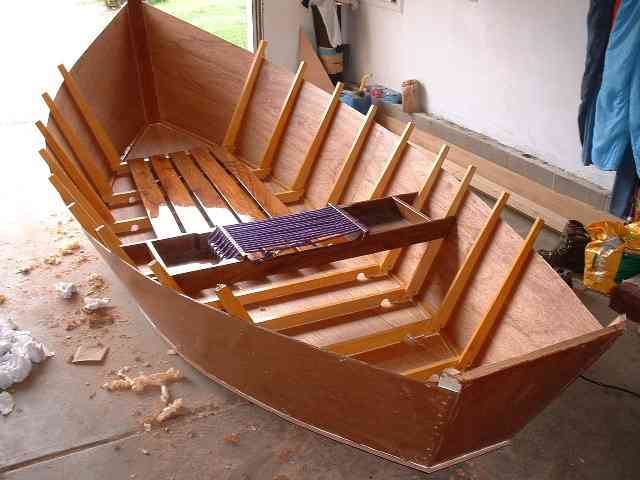
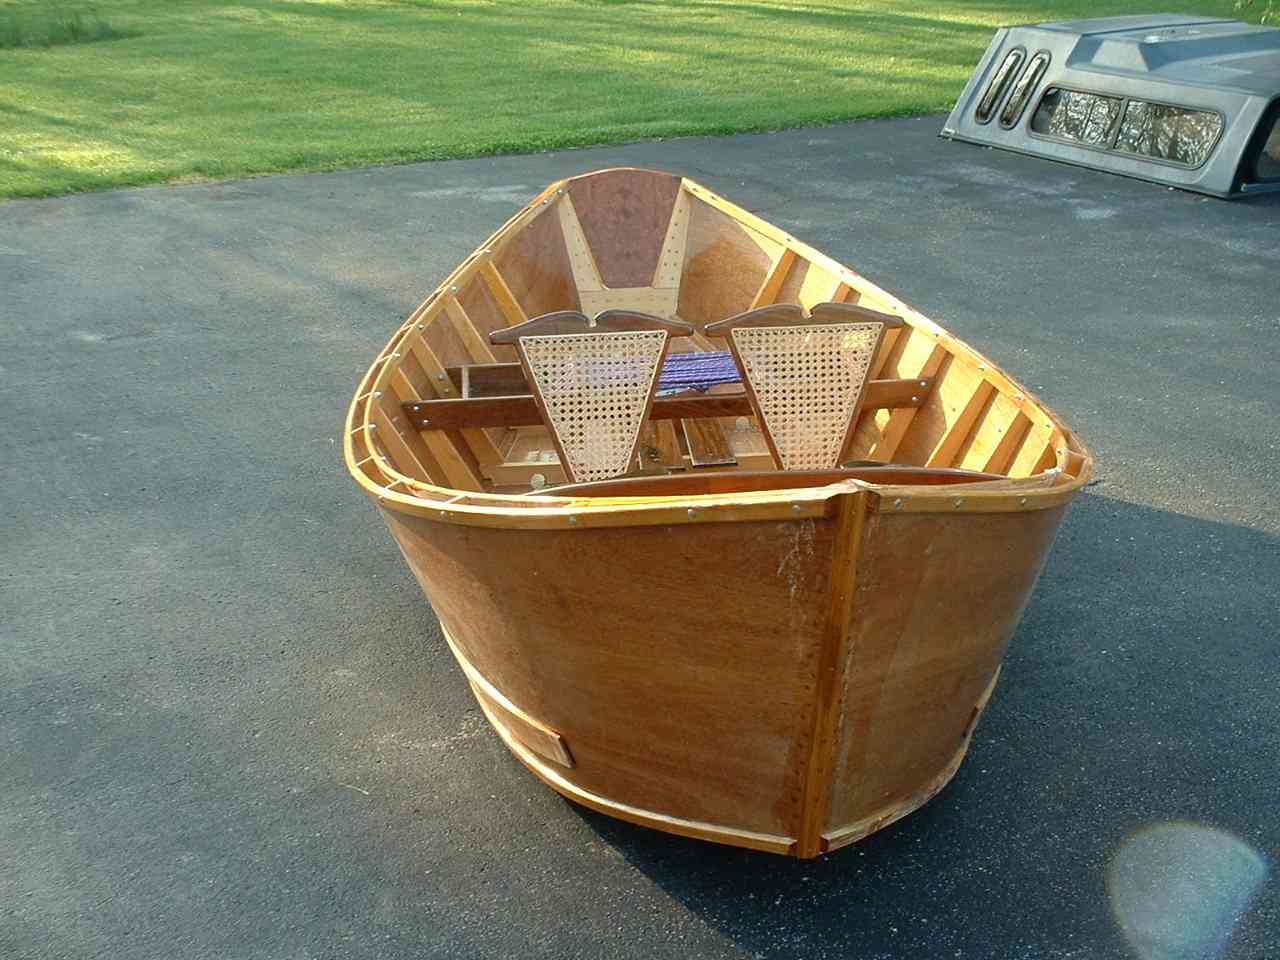
The unfinished boat was pulled into driveway for a quick photo-op. Note that seat-backs are interchangeable. About a month after this shot was taken, the boat went out for its maiden voyage which was described at the top of the page.
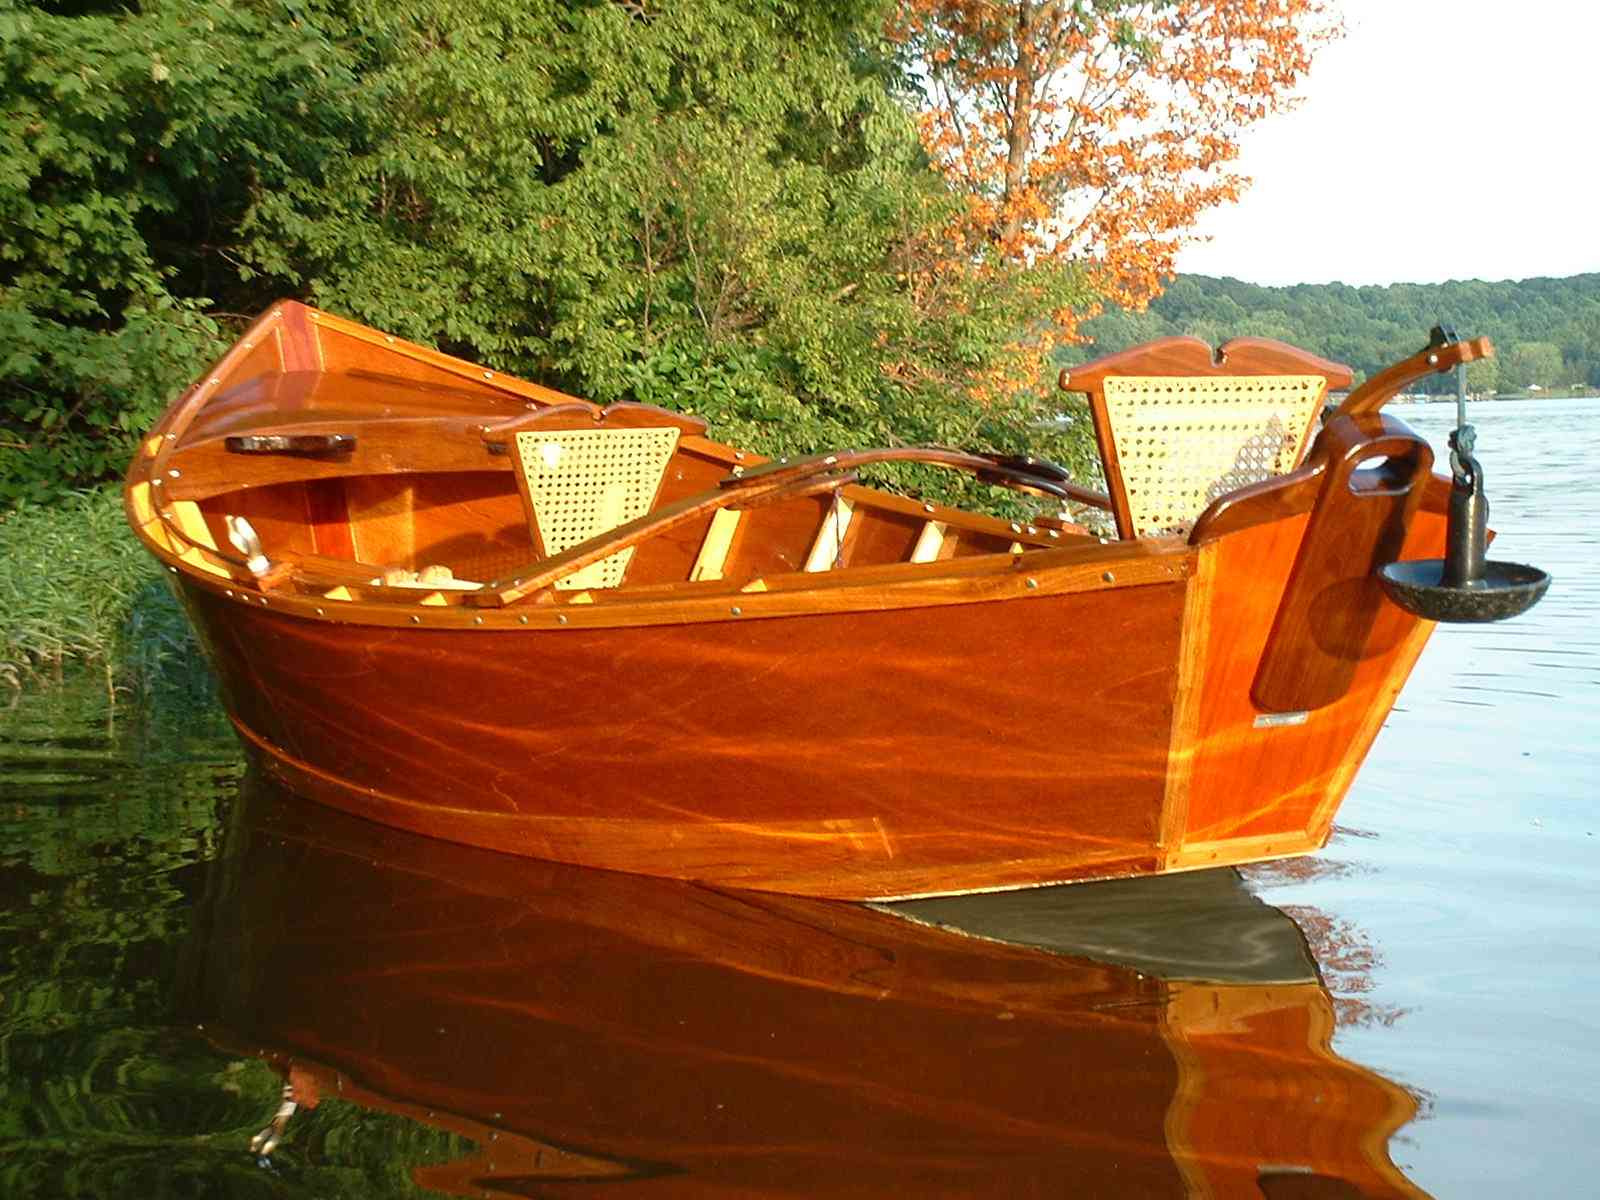
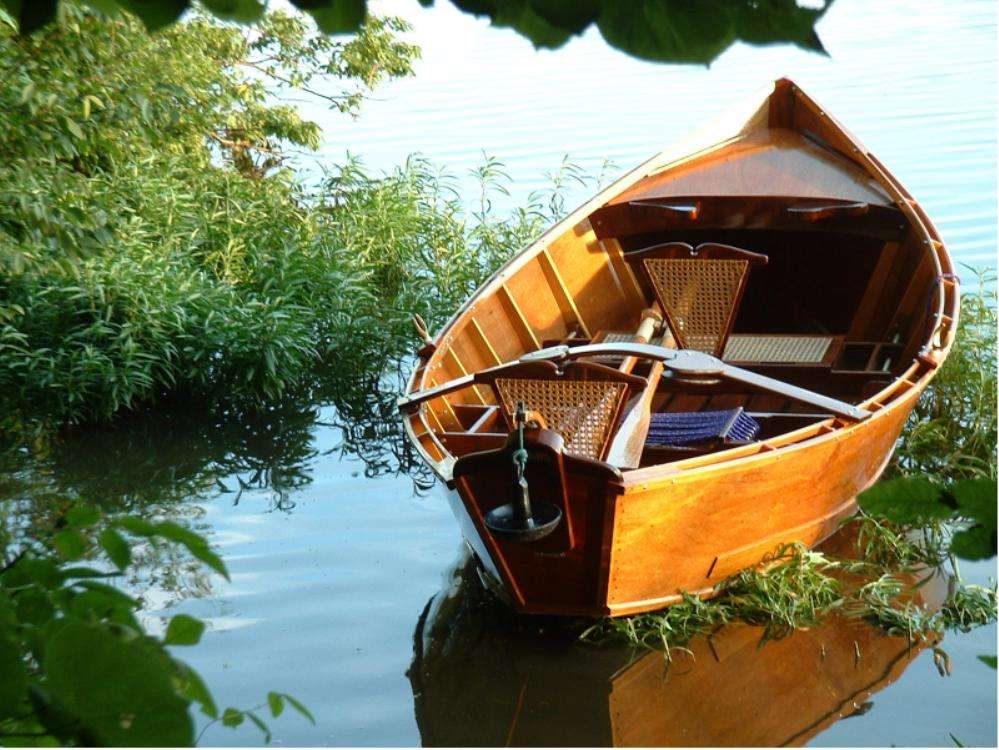
Reflections on Kiser Lake near St. Paris Ohio.
Copyright © 2003, David B. Doman, PhD, All rights reserved.